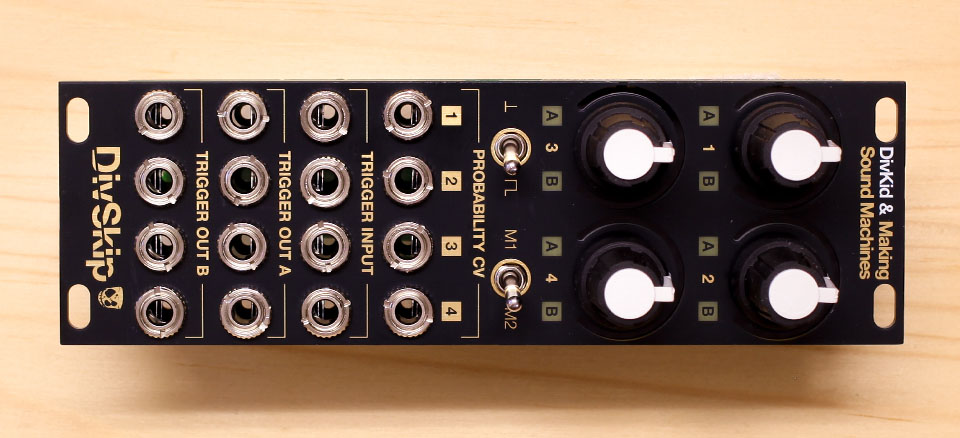
DivSkip Kit – Build Guide
Thank you for getting a DivSkip kit. It is an easy DIY build suited for beginners and comes with many of the critical electronics pre-assembled. However, it does require very careful and precise soldering.
If this is your first time soldering, please read the Adafruit Guide to Excellent Soldering first.
Some tools you will need#
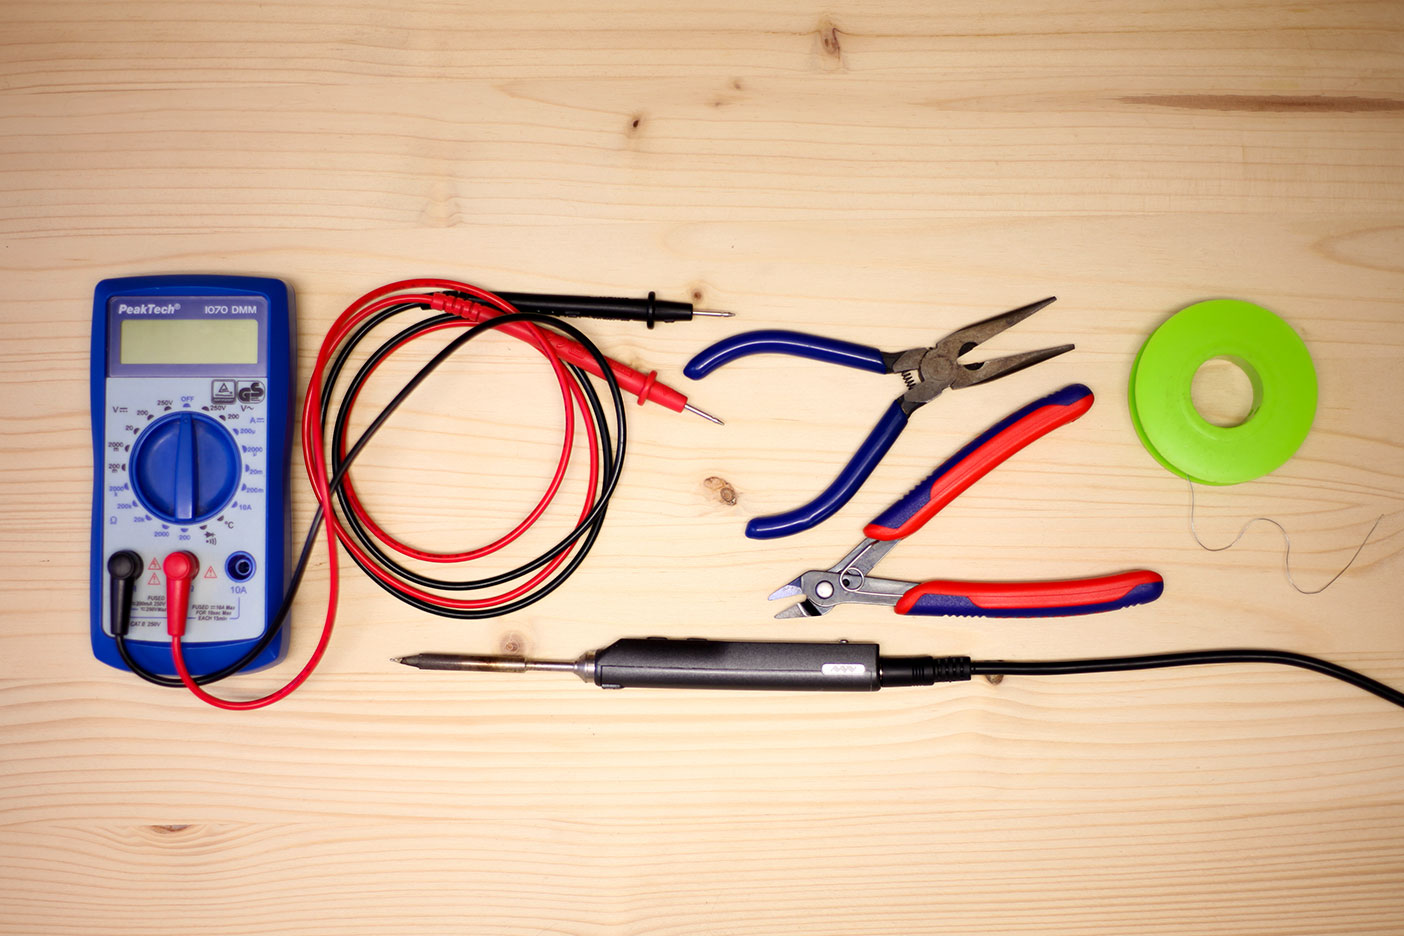
- A spool of solder. We use lead free 0.5mm.
- A soldering iron for electronics A good temperature for soldering lead free solder is 375 - 380° C.
- A multimeter
- Flat-nosed pliers
- optional: Snipe-nose pliers
Here’s what you will find in the kit#
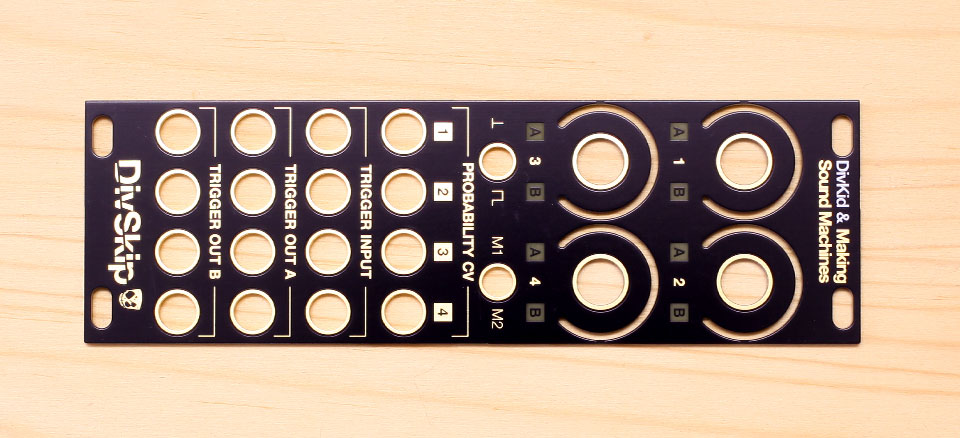
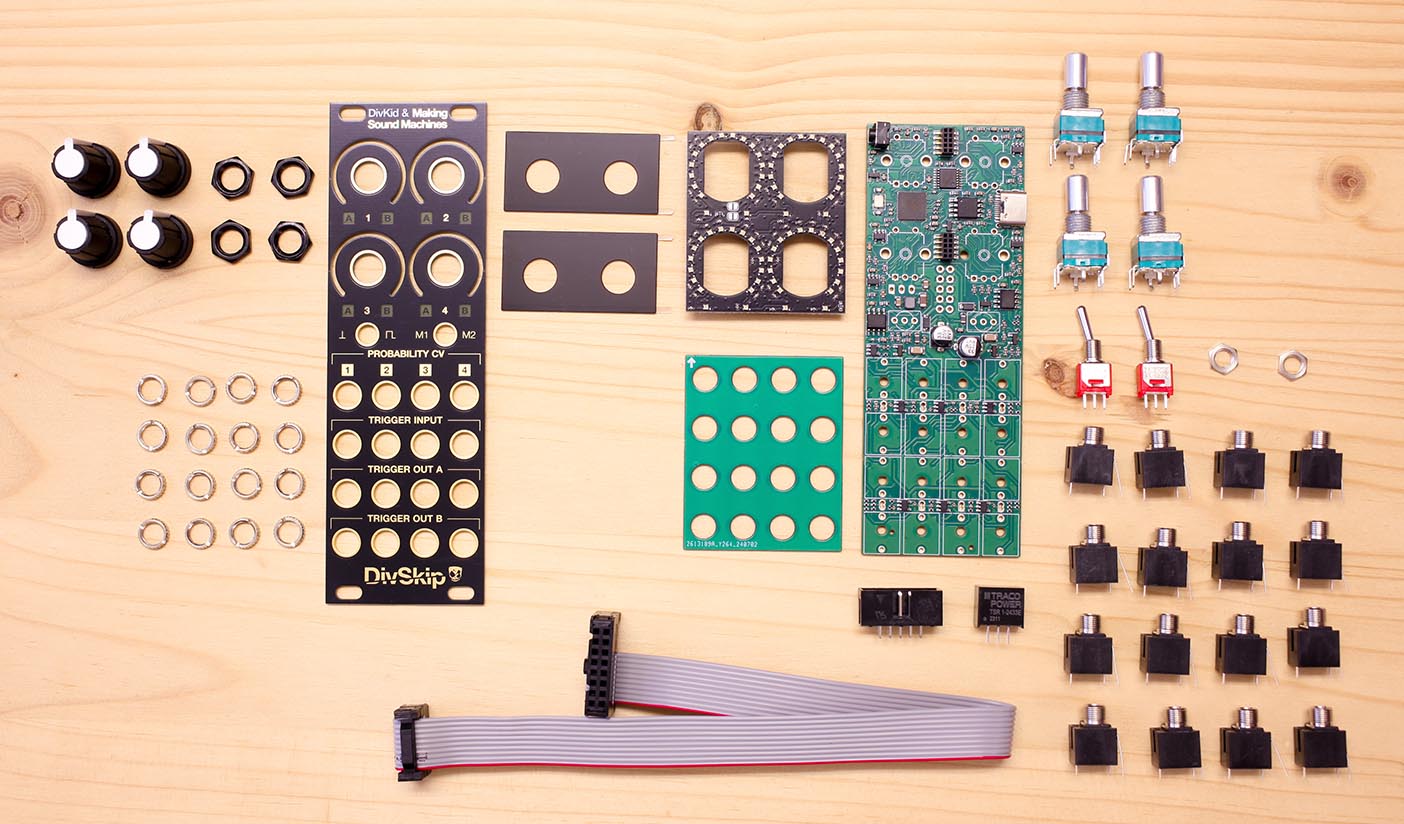
- The frontpanel
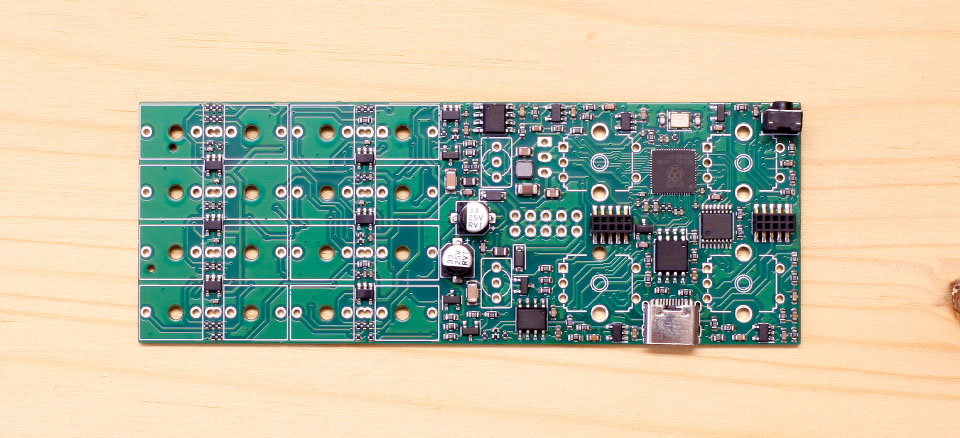
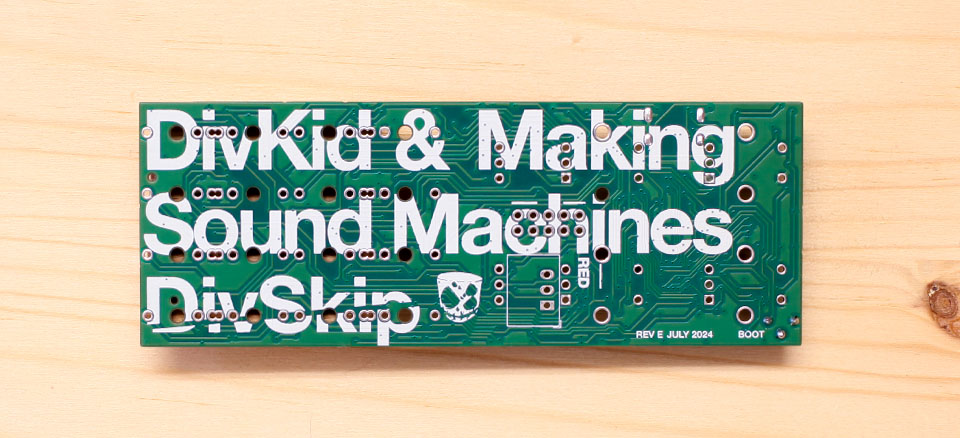
- The Main PCB with presoldered components on (front-facing side)
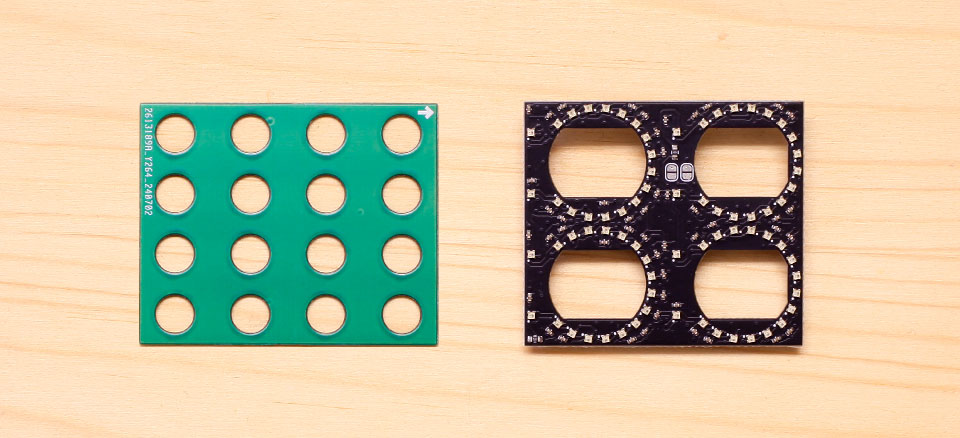
- The LED Board with presoldered components and the green spacer PCB

- Quickstart Guide
- 4x Rogan soft touch potentiometer caps
- 4x black hex nuts
- 16x knurled nuts
-
2x LED Windows
-
Eurorack power cable
- 1x 2x5 boxed header
- 1x Traco power brick (wrapped in red foam)
- 4x potentiometers
B10k with click - 2x Micro Switches + silver hex nuts
- 16x Thonkiconn
Build Guide#
All of the SMD components on the PCB have already been assembled for you, so this is a very quick build. However, it does require very careful and precise soldering.
Avoid touching the SMD components with your hands and be very careful not to touch them with your soldering iron. Take your time, and use an iron with a reasonably small tip.

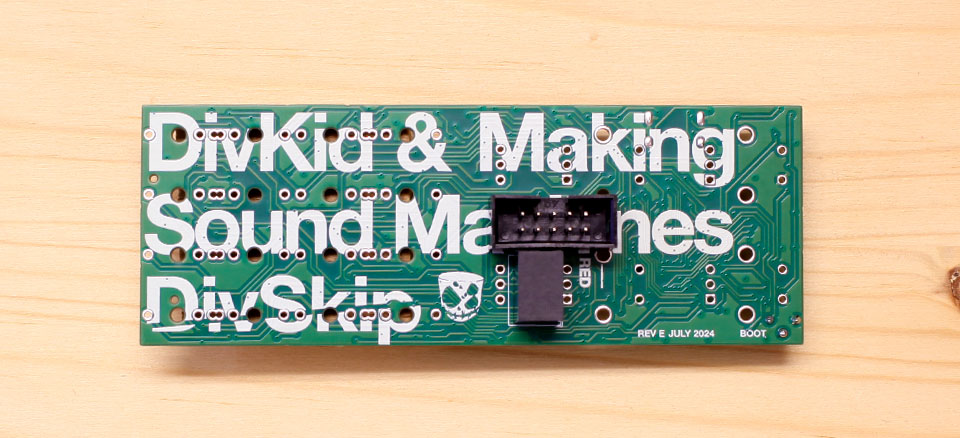
Back side - this side has the module name printed on it.
Turn the PCB over, so that the surface-mount components are facing down - this will be the back side of the module. This side has the module name printed on it.
2x5 Power Header#
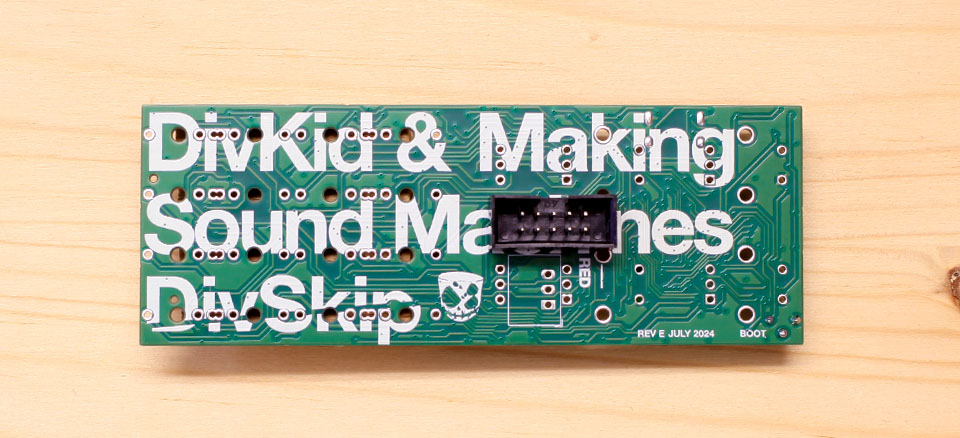
Start by placing the 2x5 power header. Make sure that it sits on the correct side: the black plastic box and long pins should be on the same side as the large module name print. The short pins stick through the PCB and should be soldered on the SMD component side.
Note
Make sure to align the cutout of the boxed header with the two white stripes on the PCB. The cutout of the header should face toward the word 'Making'.
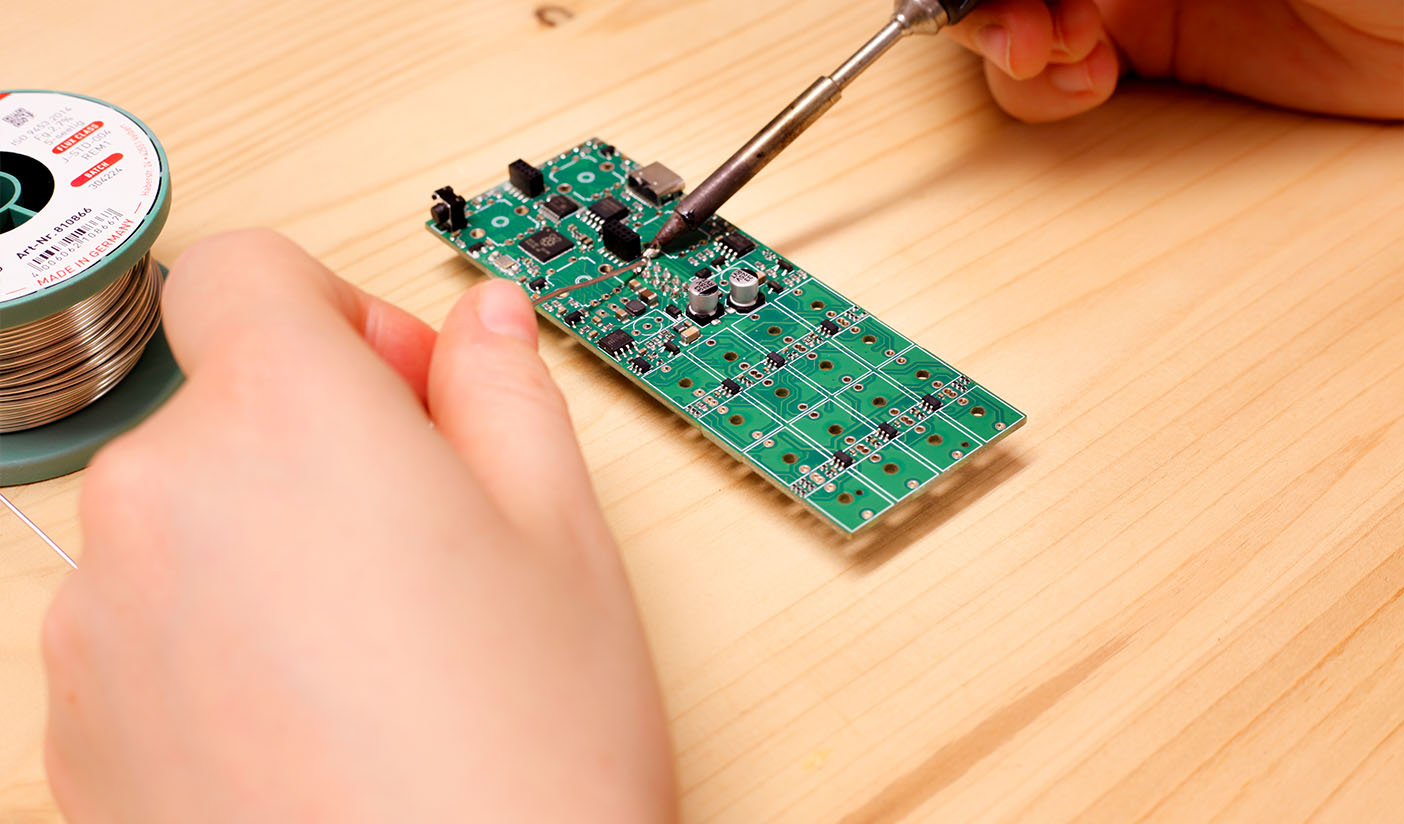
With SMD component side facing up, solder one bottom row corner pin first. Using a fine soldering tip, you should have enough space to solder the bottom row and avoid touching the SMD components.
Check that the pin header sits flush and reheat to adjust if necessary. If the pin header sits flush, finish the remaining pins.
Power Brick#
You will find the 3.3V power brick wrapped in a small piece of red foam.
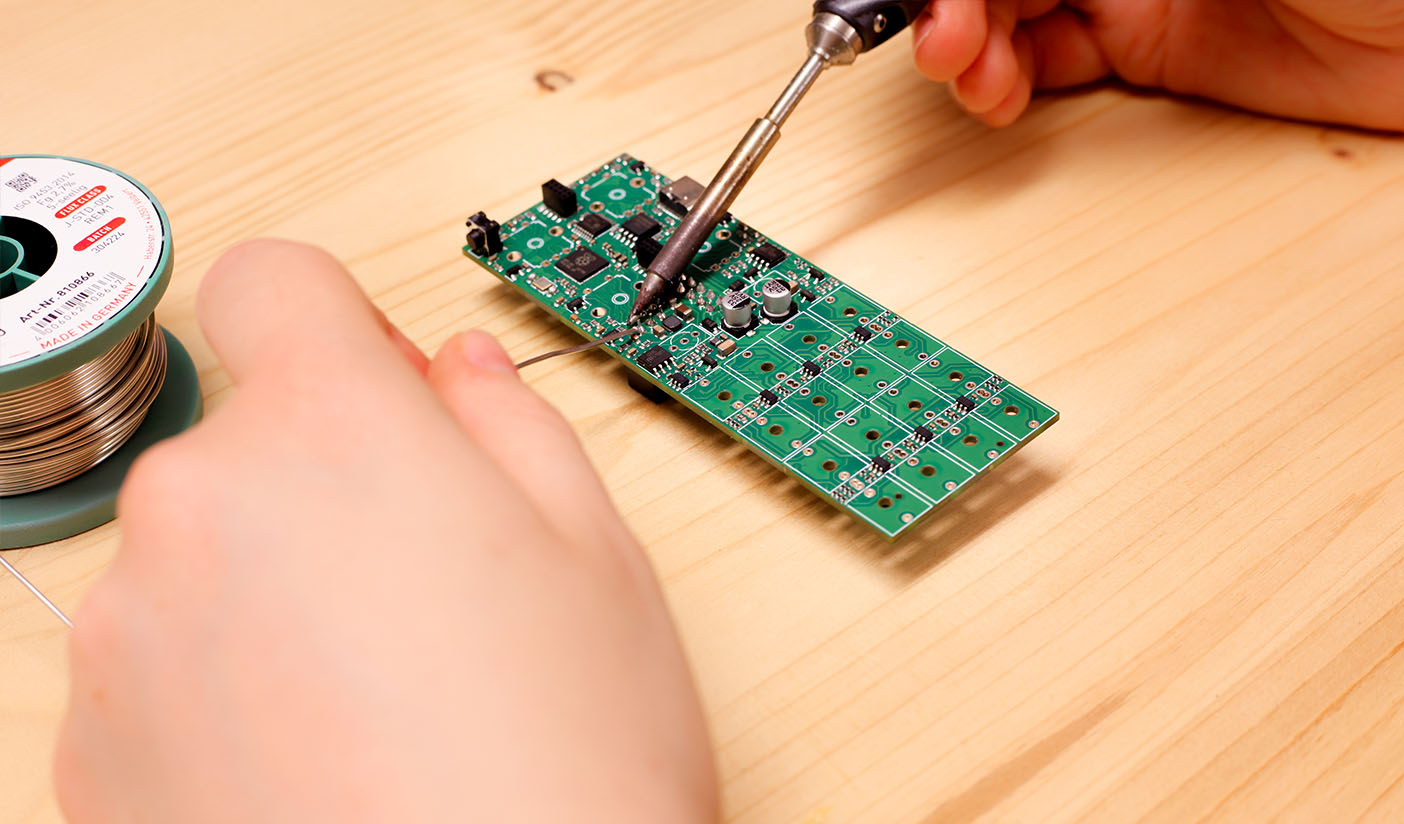
Place the 3.3V power brick. Make sure that it sits on the correct side: next to the power header. Make sure that the white outline matches the outline of the part itself.
Potentiometers, Jacks, Switches and LED Board#
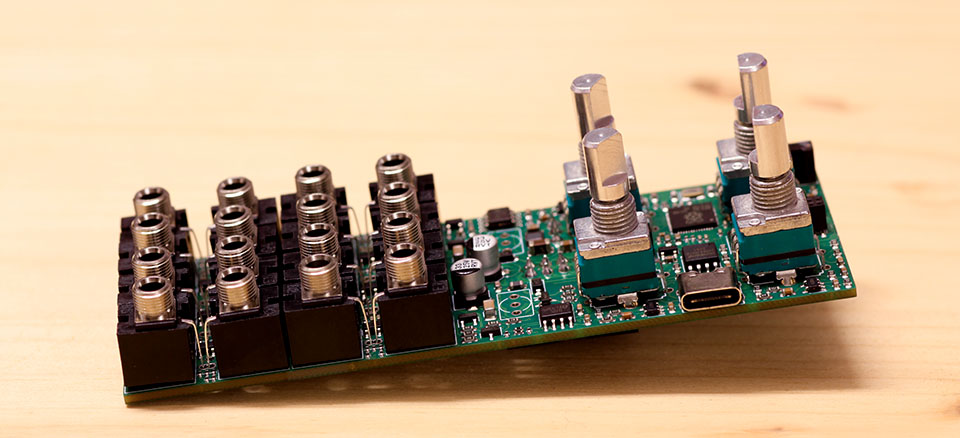
Next, orient the PCB so you can see the side with the SMD components. Place all the components onto the board, but do not solder anything yet.
Place Potentiometers#
Place the four potentiometers next. These potentiometers are special - they have a clicky axis with a pushbutton feature, similar to some encoders. They all have the same B10k value.
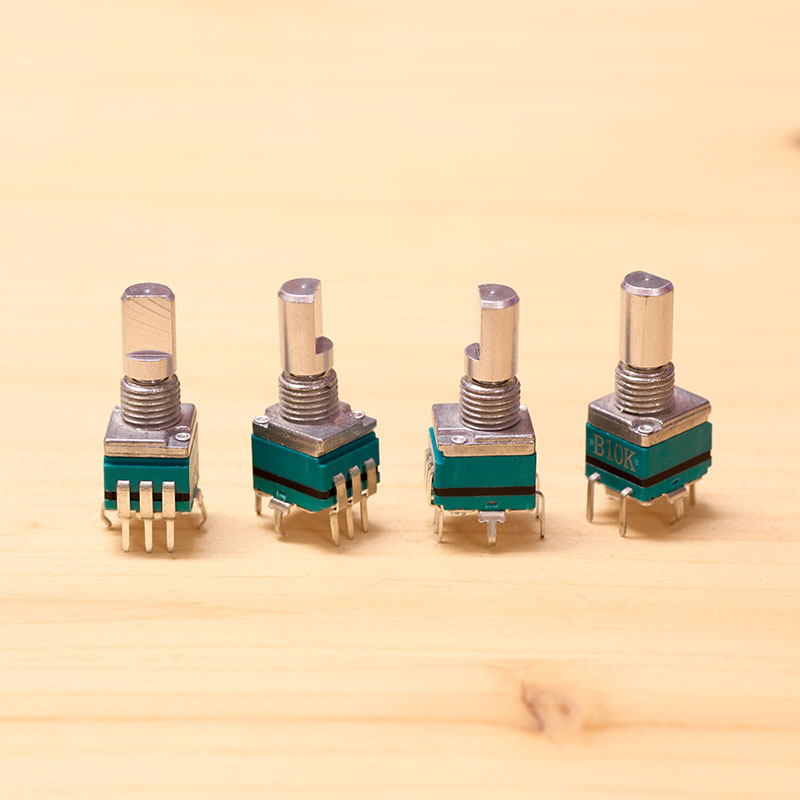
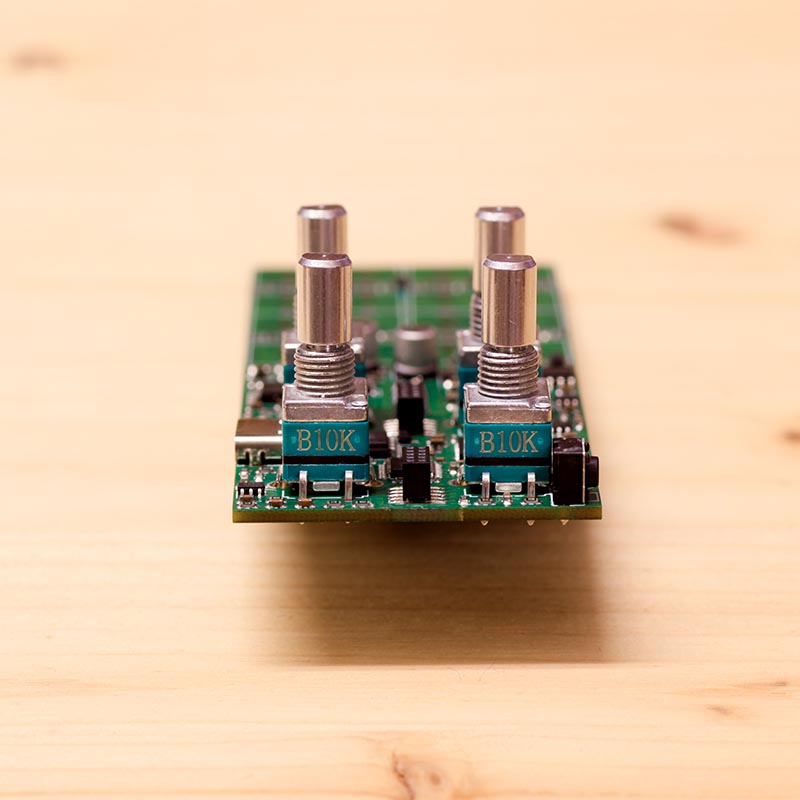
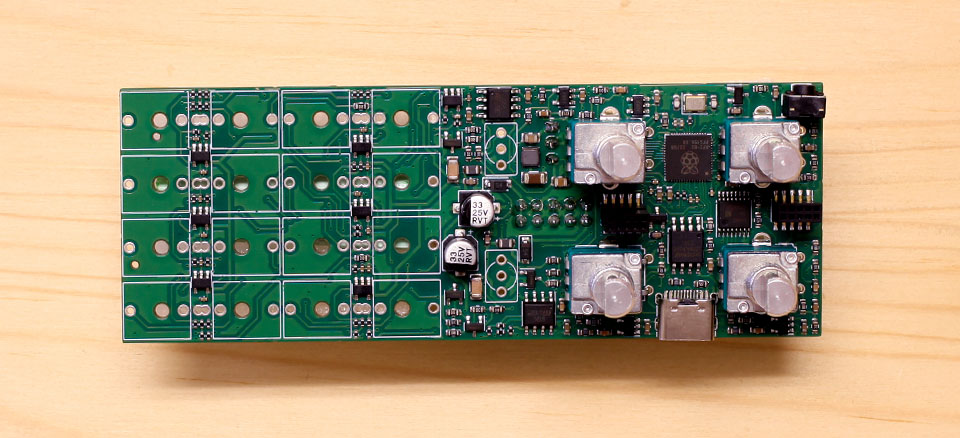
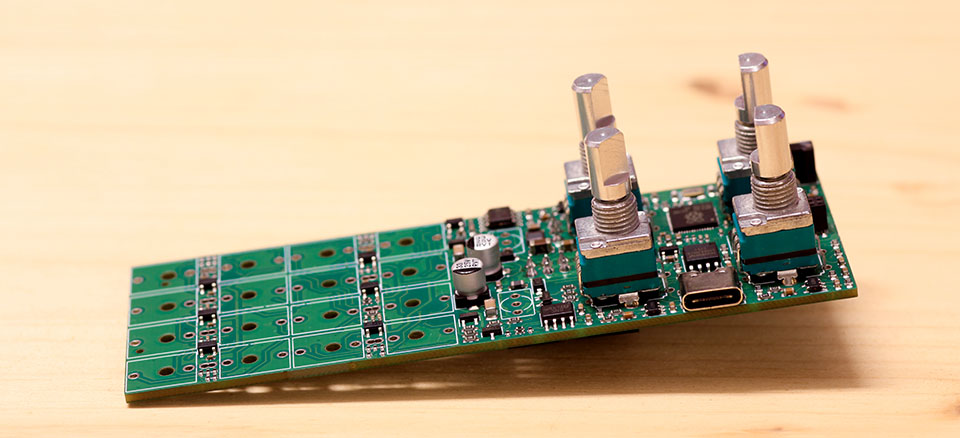
You may need to squidge the side brackets a little with snipe-nose pliers to make them fit. Be gentle as the pins may bend easily if you don’t line them up with the holes. Inspect to make sure all legs stick through the PCB, and the parts sit straight in their footprint.
Place but do not solder yet.
Place Thonkiconn#
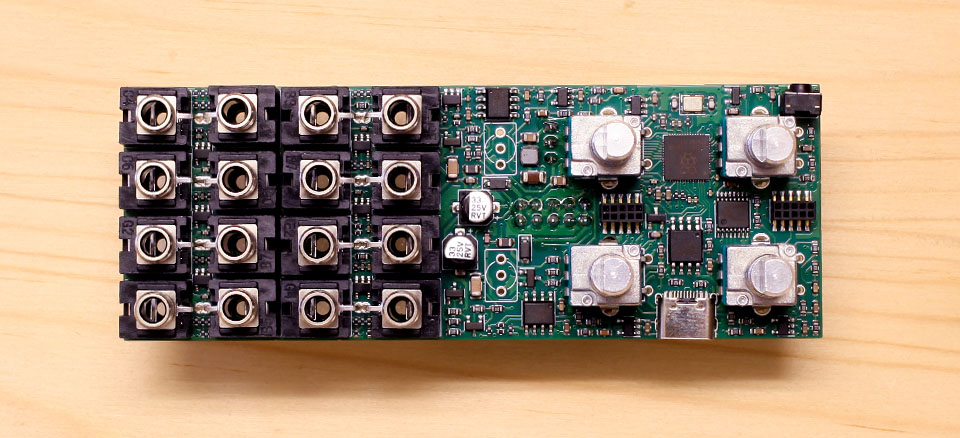
The groups of rectangular outlines indicate where to place the 16 black Thonkiconn jacks.
Place the jacks but do not solder yet.
Place Switches#
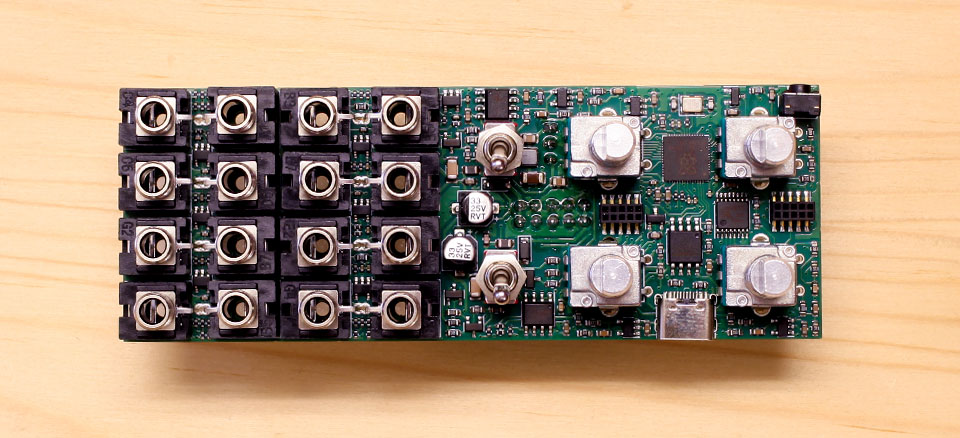
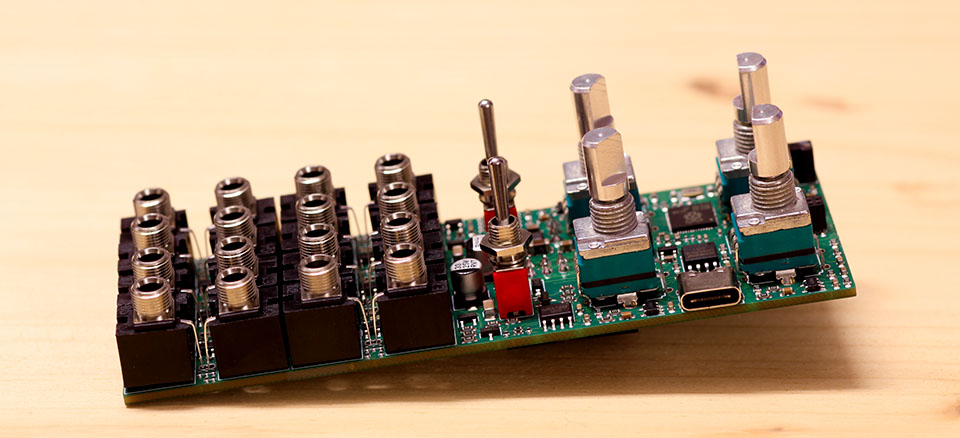
The two rectangular outlines plus circle indicate where to place the two red Micro Switches. Screw a silver two hex nut on each one. This is to prevent the switches from falling out of their footprint once you flip the board over to solder everything.
Place the switches but do not solder yet.
Place Spacer PCB#
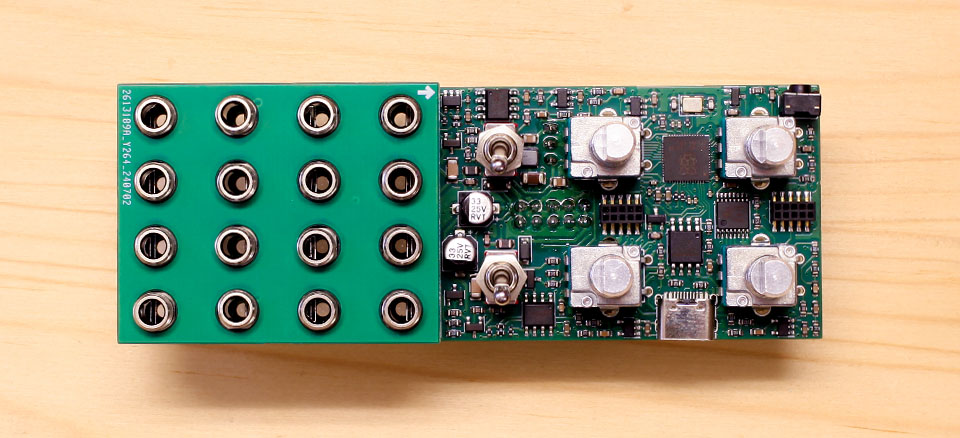
Place the green spacer PCB on top of the Thonkiconn jacks. The little arrow should point up, pointing towards the potentiometers. The Thonkiconn should align and sit flush on the board.
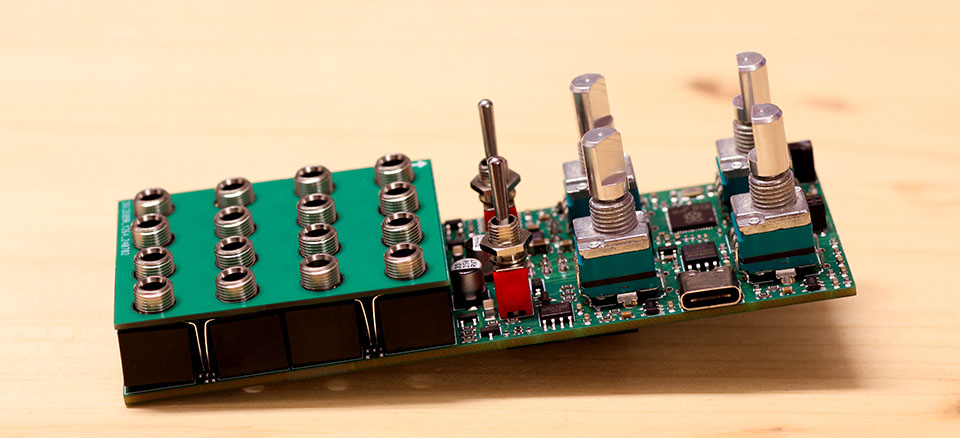
Place LED Board#
Your kit comes with two white 3D printed spacers. You will find them taped to the foamy strip under the LED board. They are used to offset the LED board to the optimal height.
Please handle the LED board carefully.
The board comes with 72 presoldered RGB LEDs, the 1x1mm translucent cubes soldered to the top of the board. Please don't put any force on these parts from the side or the top.
Hold the board by its sides when you handle it, and do not push on it hard.
This is to prevent damage to the presoldered parts.
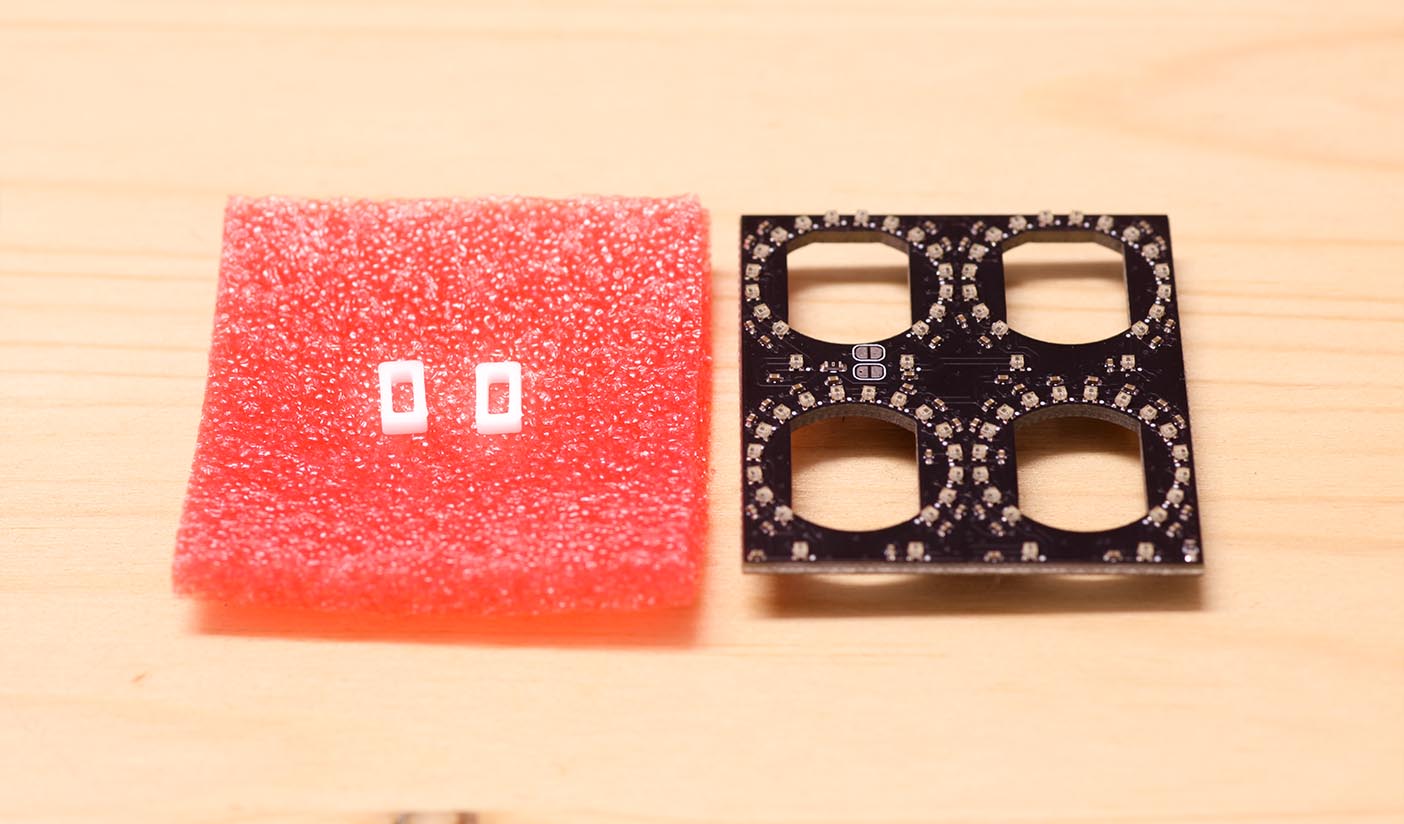
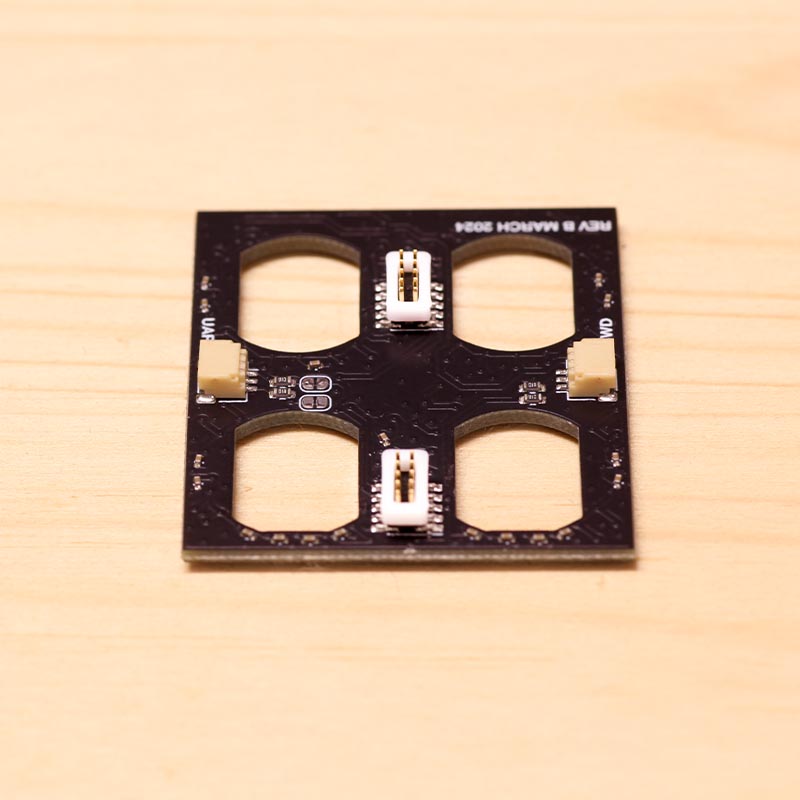
Slide the spacers over the two 2x5 pin headers.
They should fit effortlessly. Take care not to bend the legs of the connector.
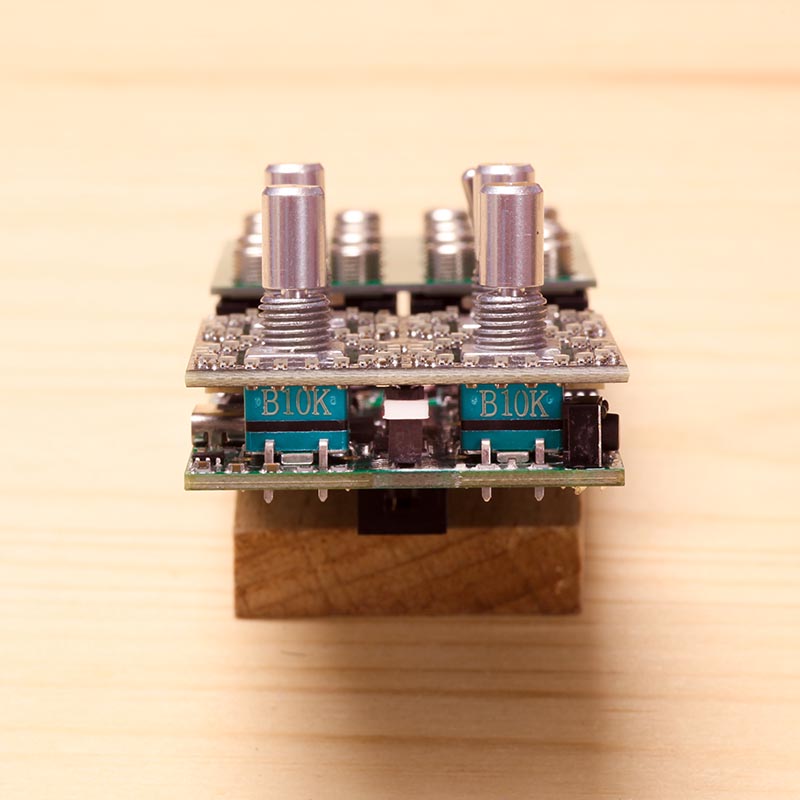
Then insert the LED Board into the 1.27mm sockets on the mainboard. It fits around the four potentiometers.
Take extremely good care that the 1.27mm headers align with the sockets. It is important to check that they are not accidentally offset.
If you power the board with the headers offset, you will damage the module.
As a precaution, there is a check using a multimeter later in the build process - after soldering and before the first power up.
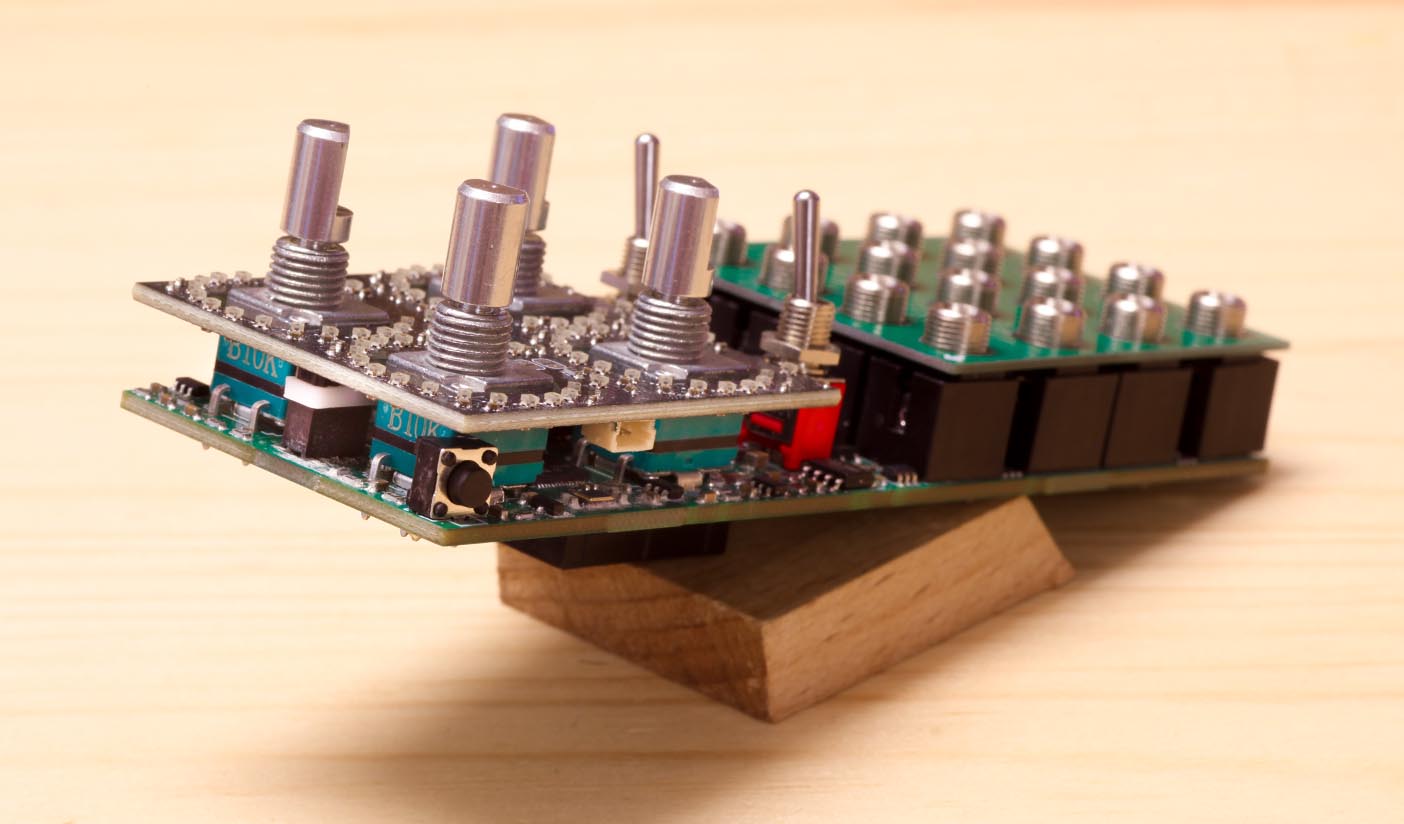
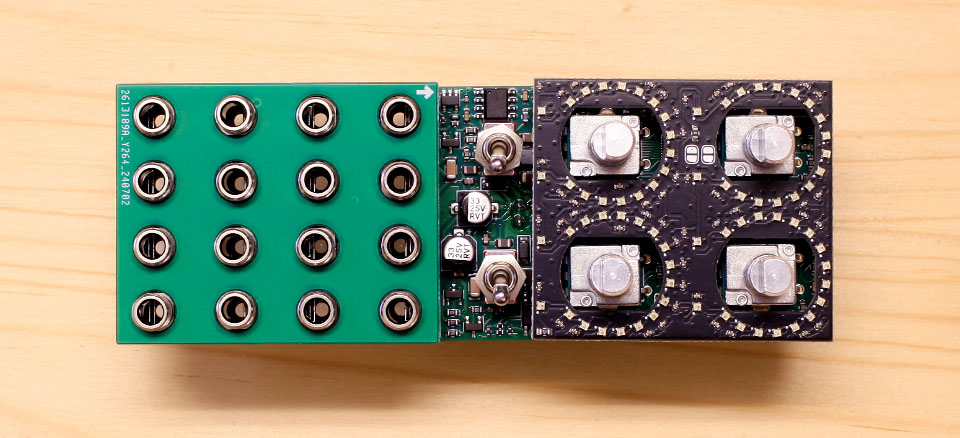
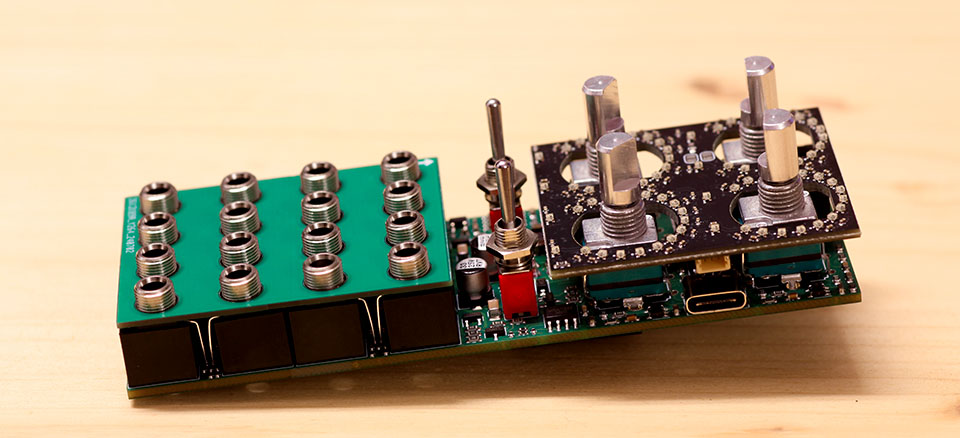
The LED Board sits correctly when it looks like this:
Attach the LED Windows to the Frontpanel#
Before you place the Frontpanel, you need to attach the LED Windows to it.
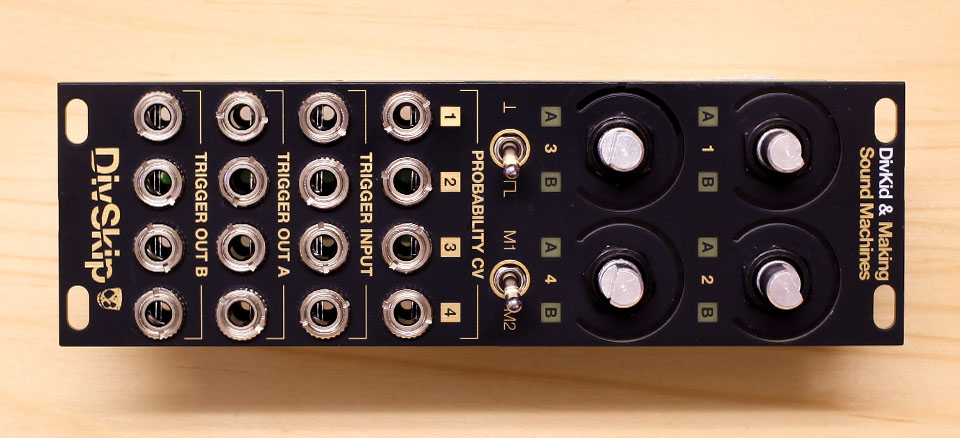
Note that the panel has two sides, one that has longer labels "Probability CV" and one with short labels "CV". Place the panel so you can see the short labels. This will be the back of the panel. The LED Windows come with a 3M adhesive strip at the top and bottom.
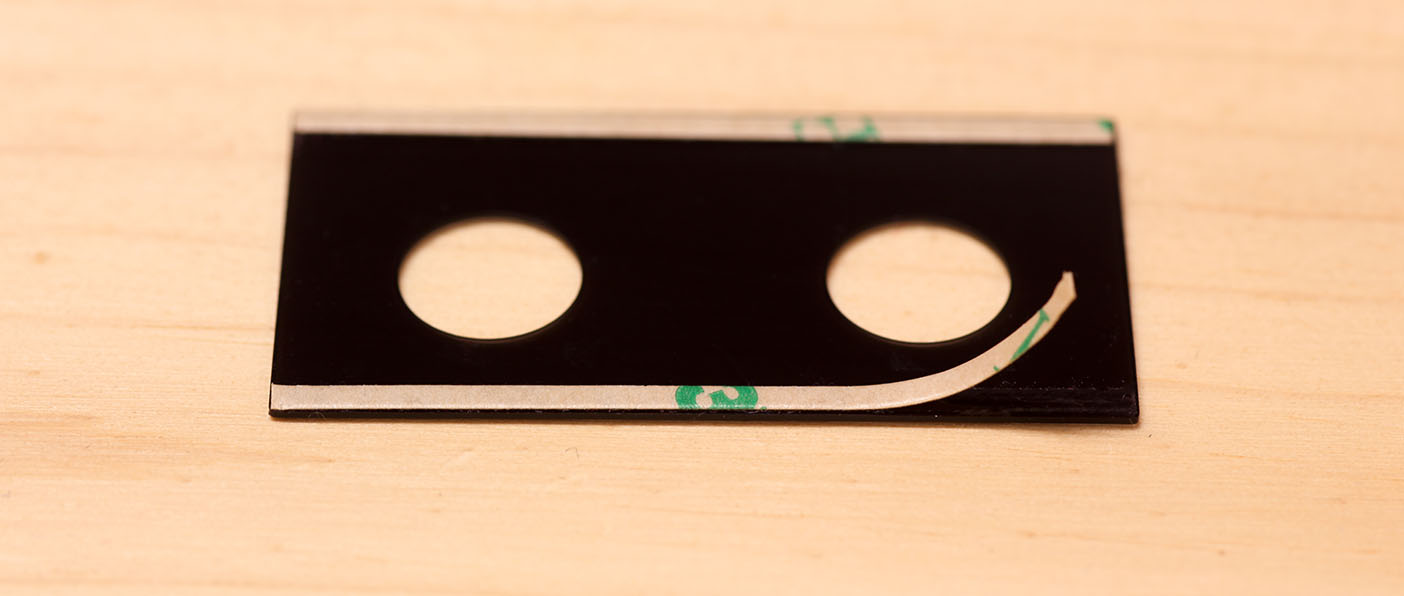
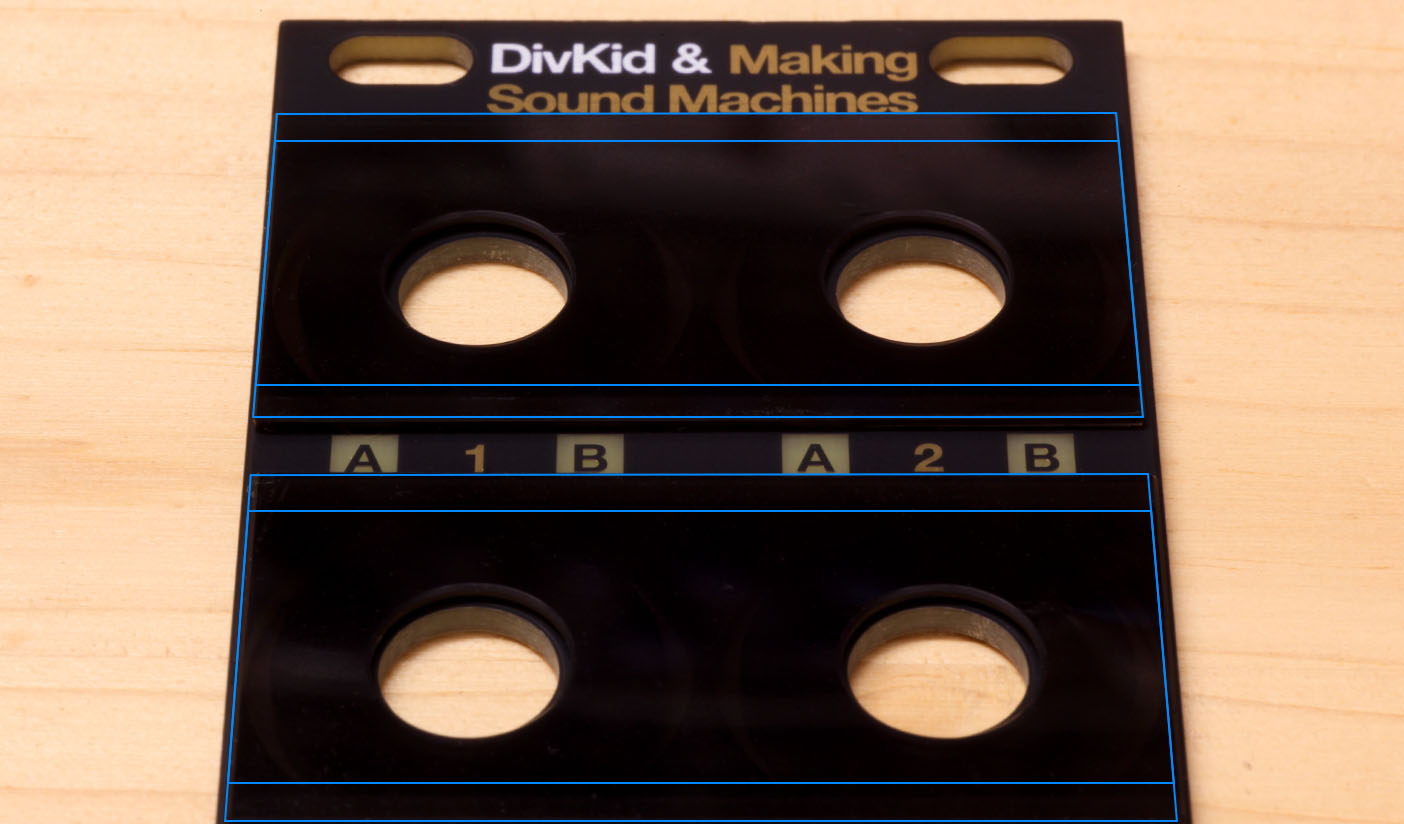
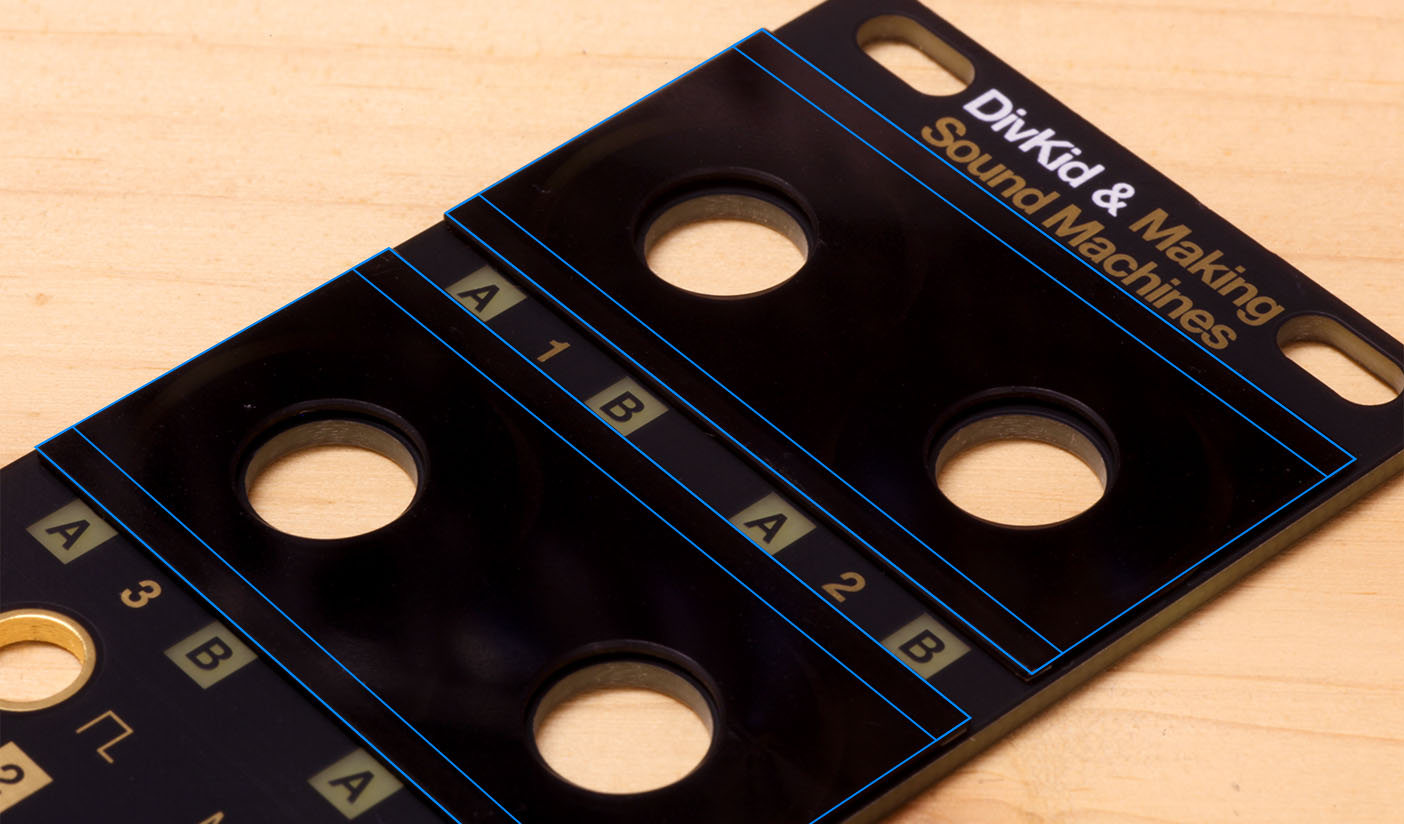
Test fit before you stick them on. Their orientation is:
- Adhesive strip facing down. Meant to stick to the panel.
- Holes for the potentiometers are free, and align with the cutout.
- Shine-through squares around A and B are free
- The wide margin points towards the label "DivKid & Making Sound Machines"
- Semi-circular cutouts around the potentiometer are covered
Make sure the windows sit flush. It helps to only remove one adhesive strip first, adjust the orientation, then remove the other strip and stick the window into place. It should look like this:
Place Panel + Thonkiconn Nuts#
Once all the components are in place, but not soldered, make sure everything lines up and put on the front panel. The LED Windows sit in between panel and components, sticking to the underside of the panel.
Make sure all the components sit straight and flush with the mainboards, then
- screw on Thonkiconn nuts
- screw on the hex nuts for the Potentiometers
The panel sits tightly on top of jacks and pots, and the jacks sit flush with the PCB.
Take extra care to align the potentiometers so they sit straight.
The two switches are not screwed on to the front panel. Their hex nuts underneath the panel should keep them in place when you turn the module over to solder the components.
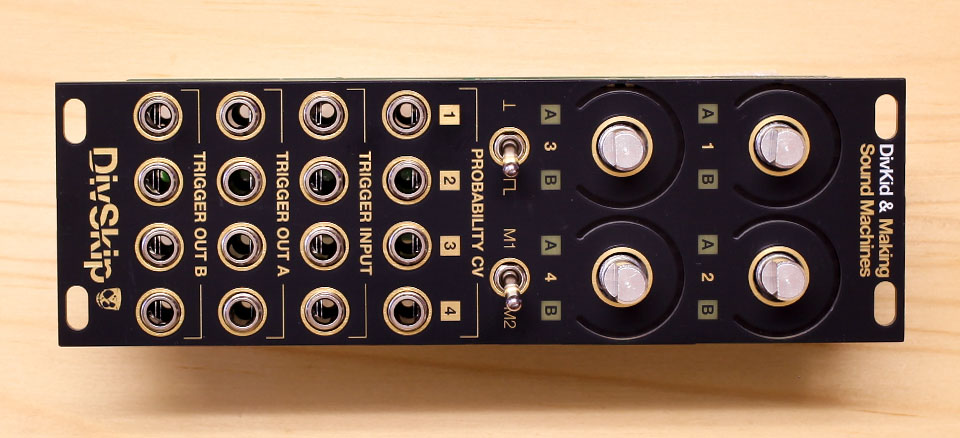
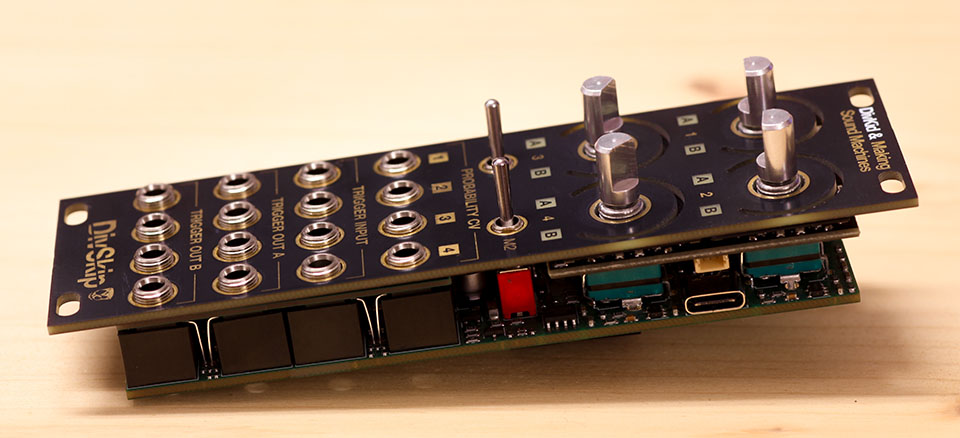
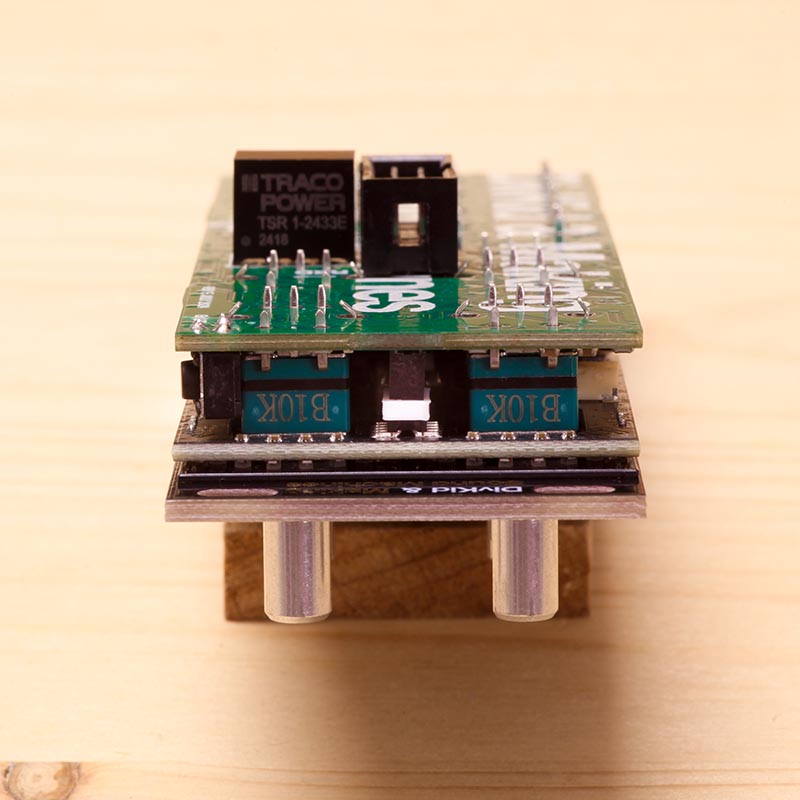
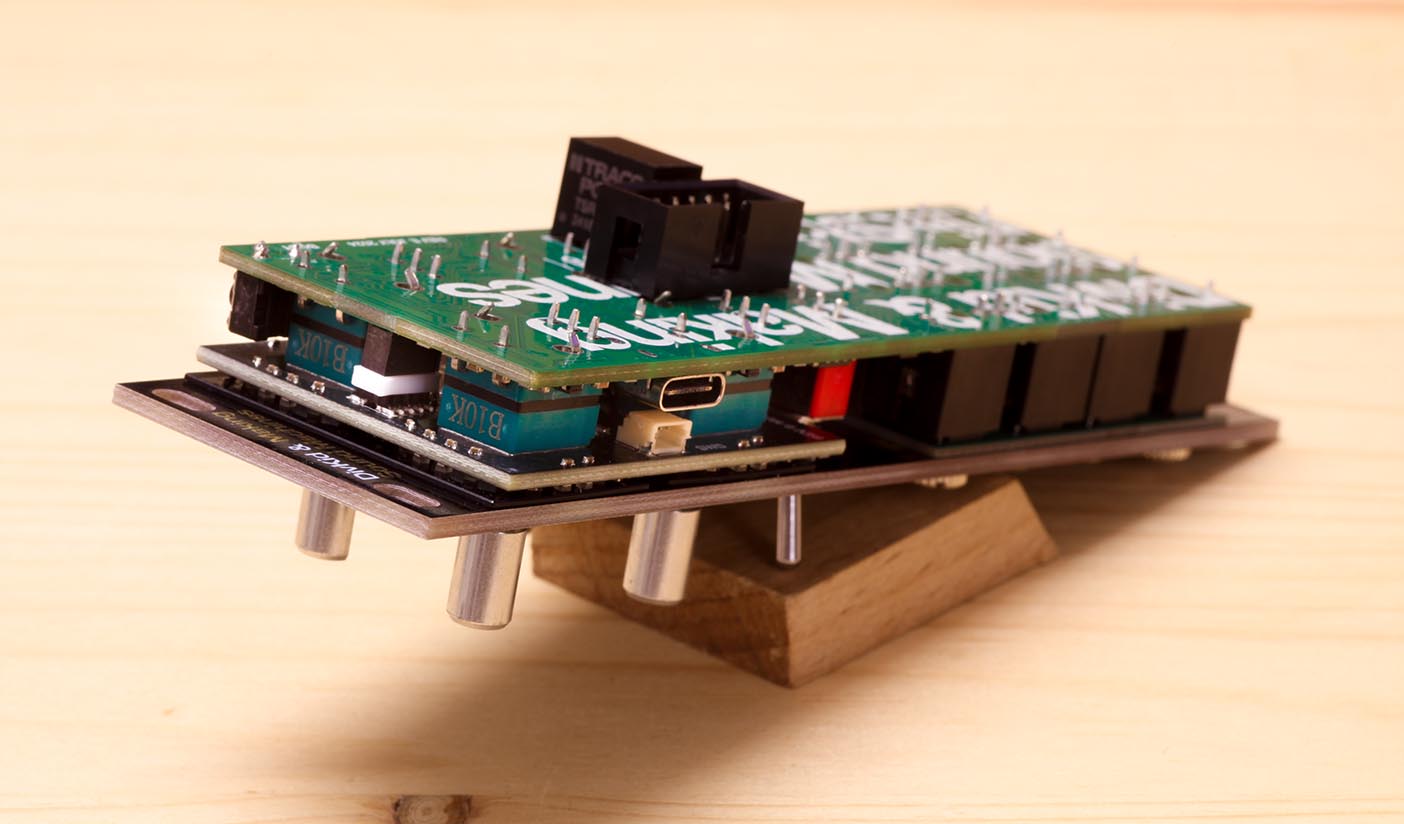
Now is a good time to double check that the LED Board sits correctly.
The 1.27mm headers need to align with the sockets. It is important to check that they are not accidentally offset.
Check against the photos for reference. If everything looks good, proceed to the next step.
Solder Thonkiconn and Potentiometers#
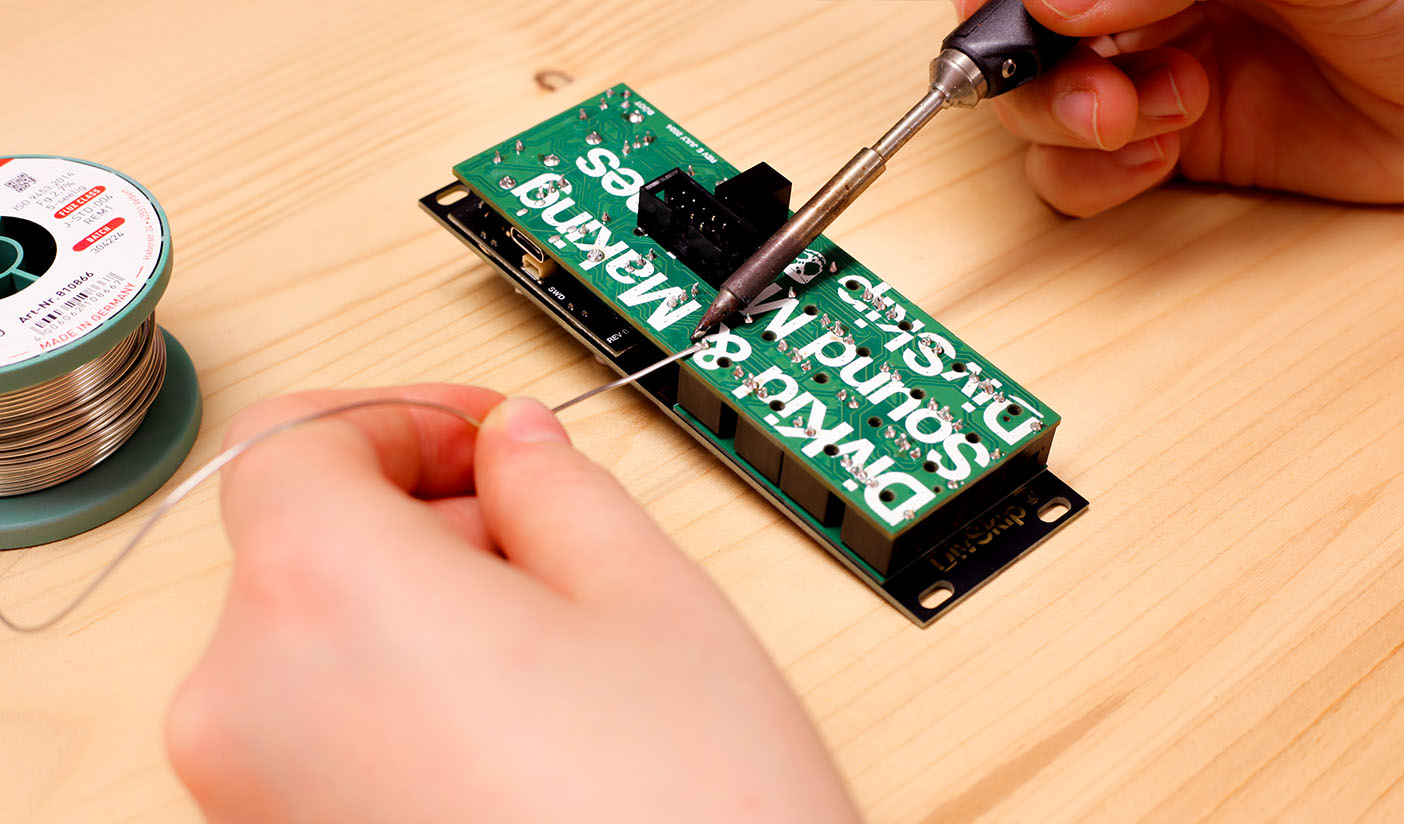
Before you solder, make sure everything is as tightly sandwiched as possible. Inspect the module from its sides before you tighten all the nuts, to make sure everything aligns and fits the panel.
Solder the jacks first, so the whole arrangement holds together.
Check one last time they sit straight, then solder the potentiometers on the back.
Continuity Test#
Once you have soldered everything into place, and before powering the module, you need to perform a quick check using a Multimeter.
Set the Multimeter to beep for continuity. Set the position switch of your Multimeter to the position marked with a diode and / or speaker symbol. Touch one probe of your multimeter with the other - it should beep. That means you are in the correct mode.
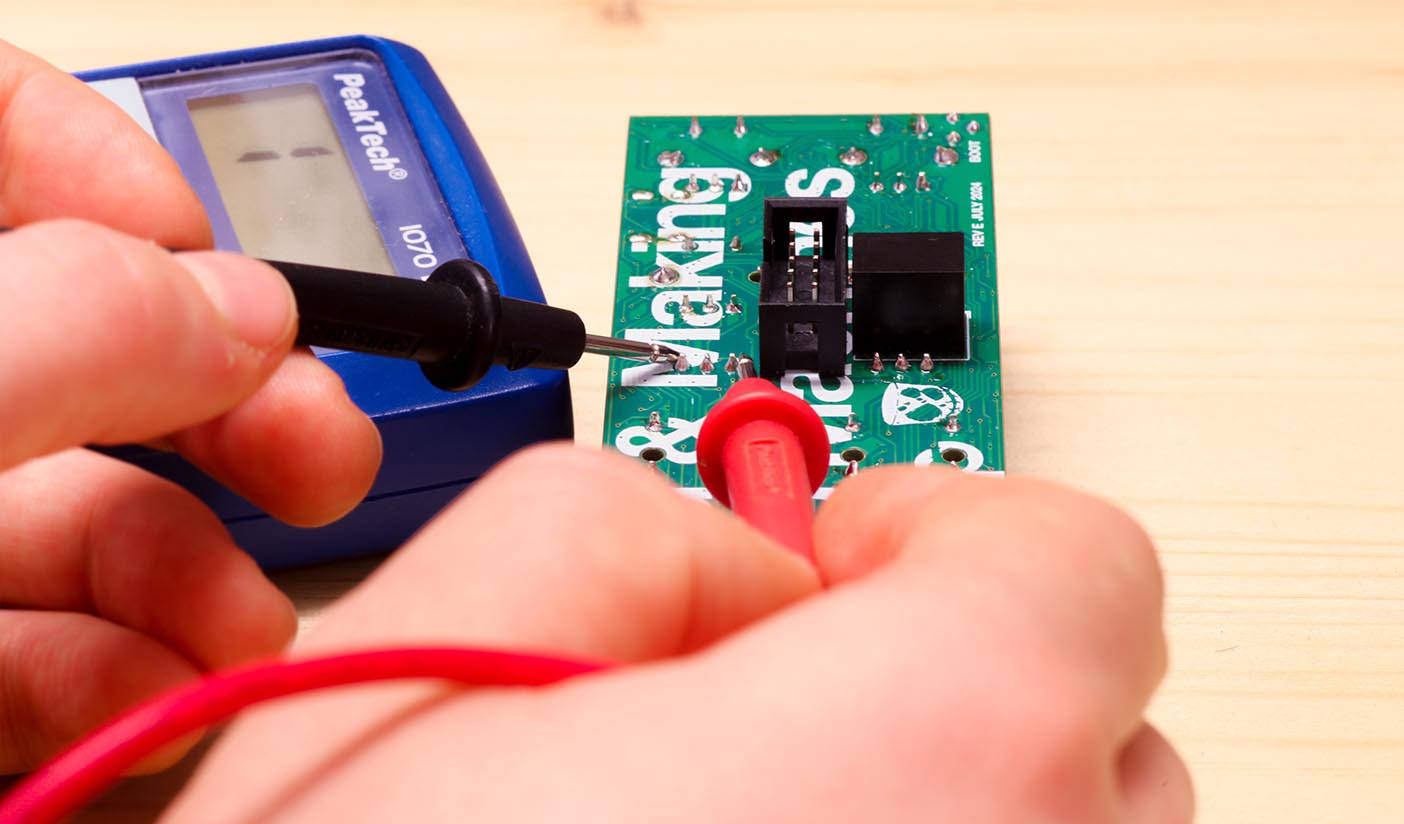
Flip the module over so the panel faces downwards, and find the three pins where M of the word Making is printed. Measure the two outer pins against one another. This is to make sure the 3.3V supply voltage and ground are not accidentally producing a short circuit.
You should not hear the Multimeter beep, in other words there should be no connection between the two pins. Proceed to power up the module.
If you do measure a connection, do not power the module. Compare your build against this step and double check whether the LED board is inserted correctly. If it looks off, unscrew the panel and reinsert the LED board so that the headers align with the sockets.
Re-measure to make sure the two pins are not connected.
Connect to power#
DivSkip requires a -12V / +12V Eurorack power supply. Connect the 2x5 pin header on the back to the bus board of your Eurorack case using the included ribbon cable.
The red stripe on the ribbon cable needs to match the Red Stripe mark on both DivSkip and bus board.
Once powered, the module should boot into its default mode (Bernoulli). Short clicking an encoder should mute / unmute a channel, and turn its LEDs orange or cyan.
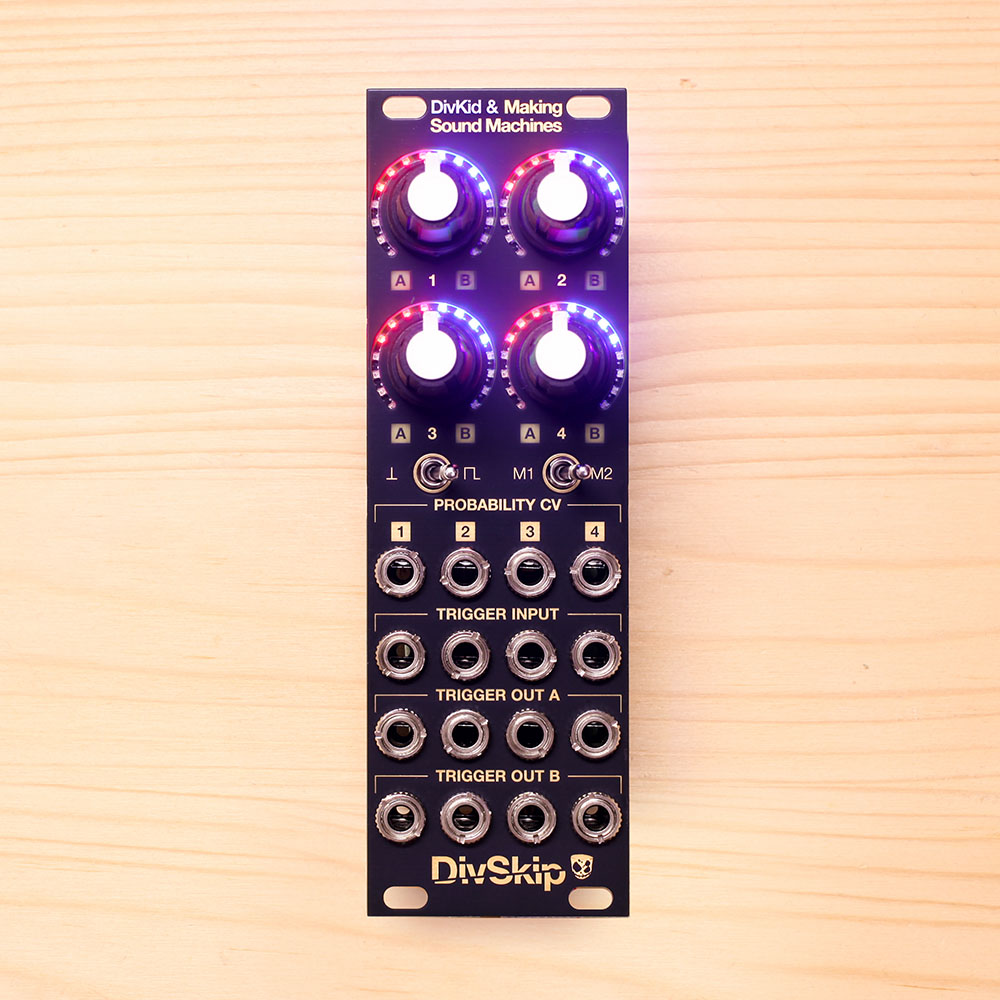
All channels are set to Bernoulli mode
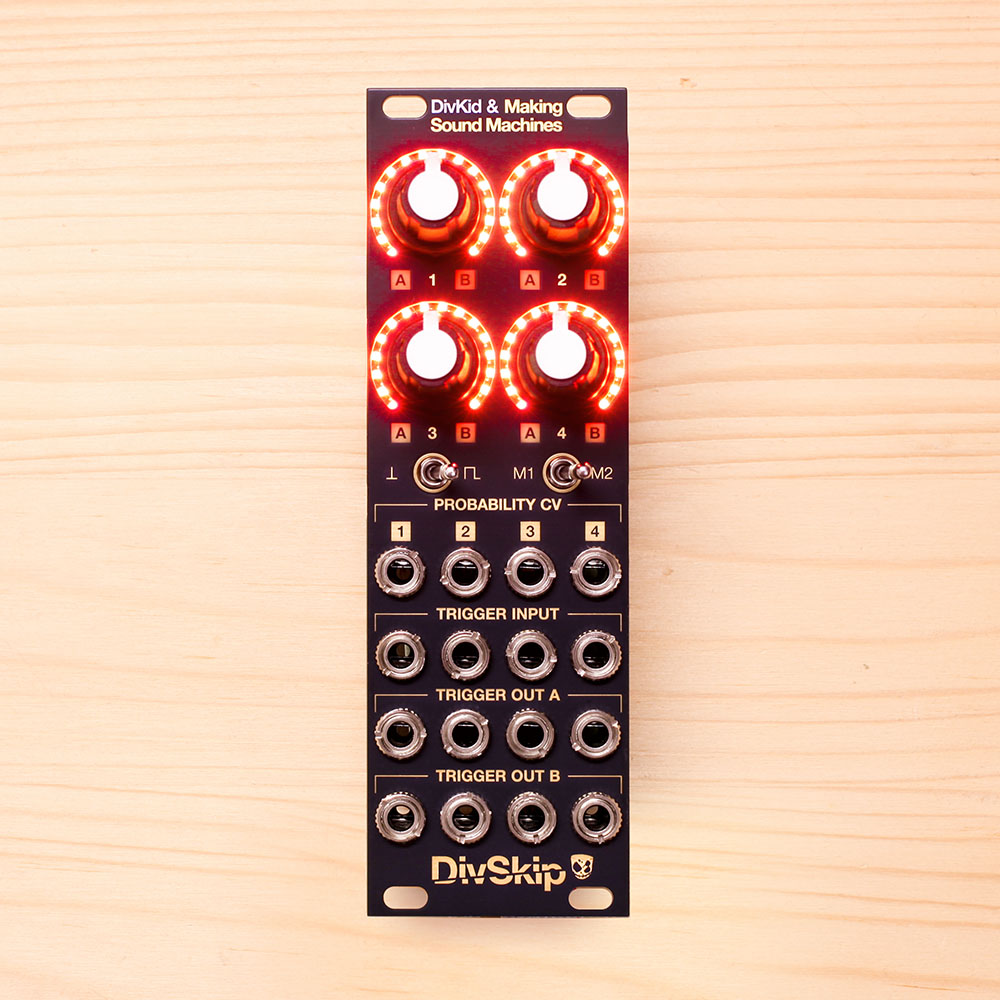
All four channels are muted (M2 - orange)
Place Rogan soft touch caps#
Only once you’ve tested the functionality of your module, put on the Rogan soft touch caps.
Install the knobs with the module out of the case.
- Align the D-profile inside the knob caps with the D-shaft of the potentiometers.
- hold the module underneath the potentiometers
- you can use a bit of cardboard or foam to protect your fingers
- push the knobs on from the top, holding against the bottom of the module
The module must not be mounted into the case while you do this.
Pushing on the knobs can take quite a bit of force, and you want to counter the force under the mainboard, at the bottom of the potentiometers.
This is to prevent damage to the panel, which may bend or crack if you apply too much force.
